Thursday 4 October 2012

Spraying and airbrushing

A good job without spending a fortune

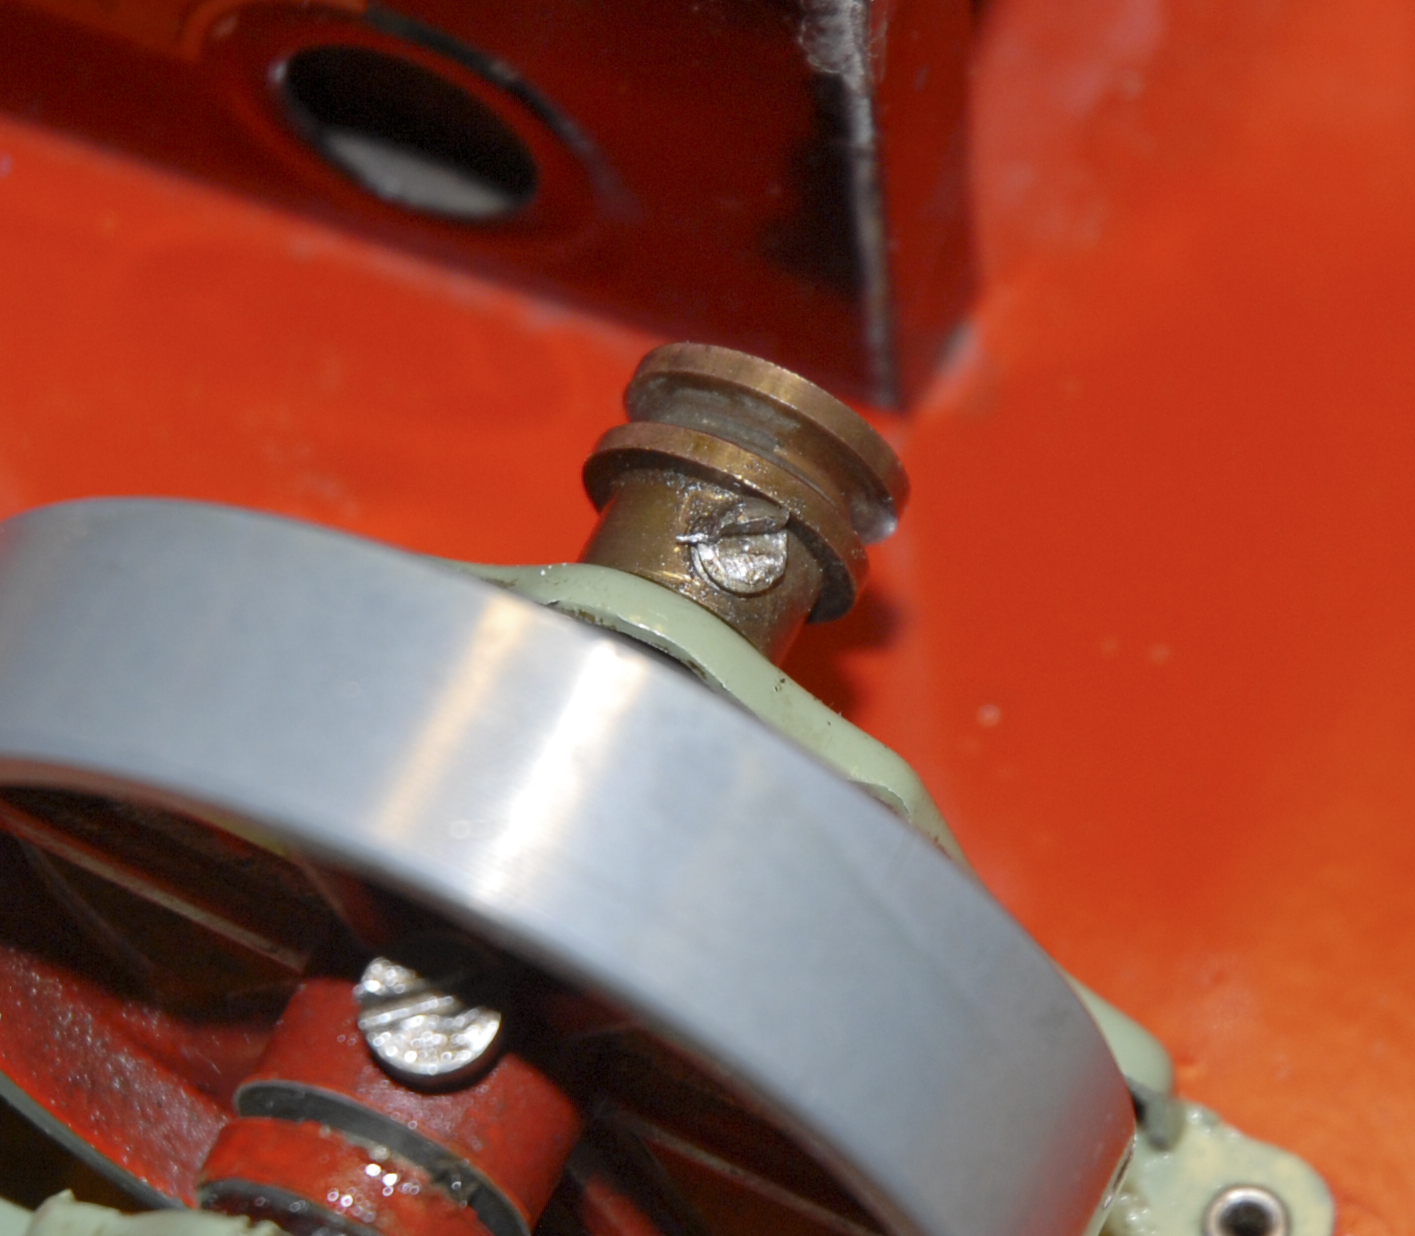
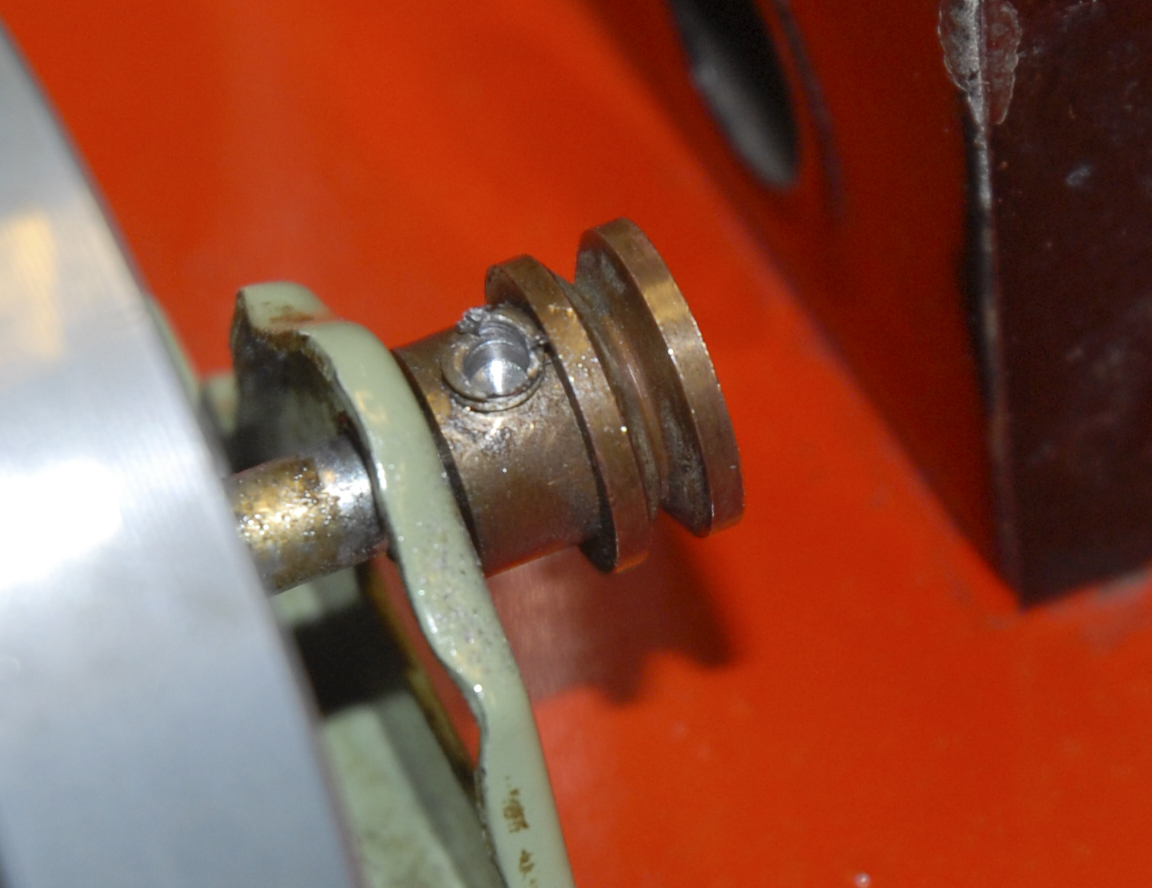
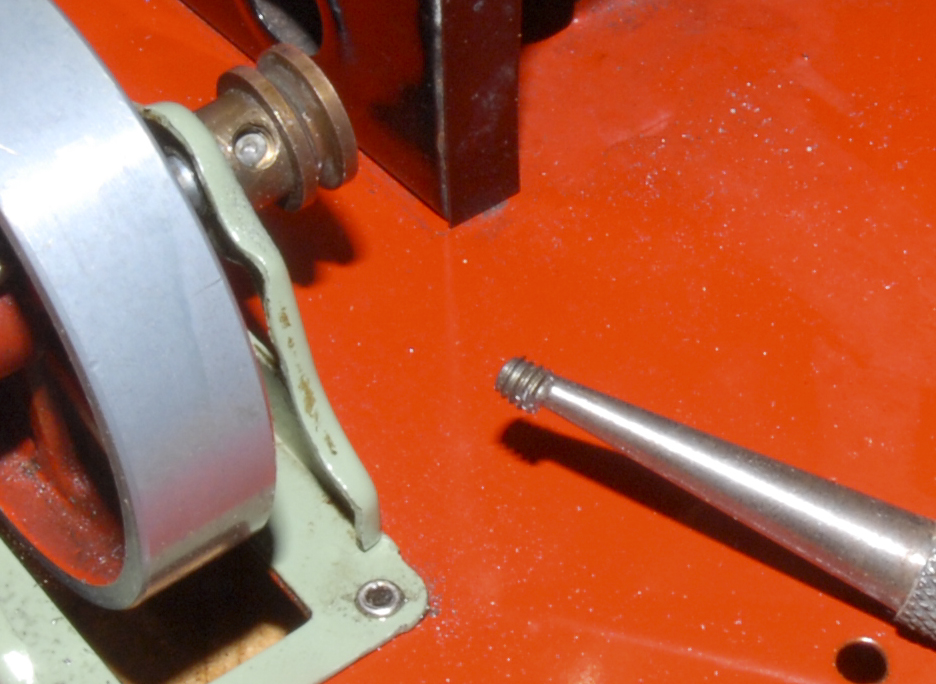
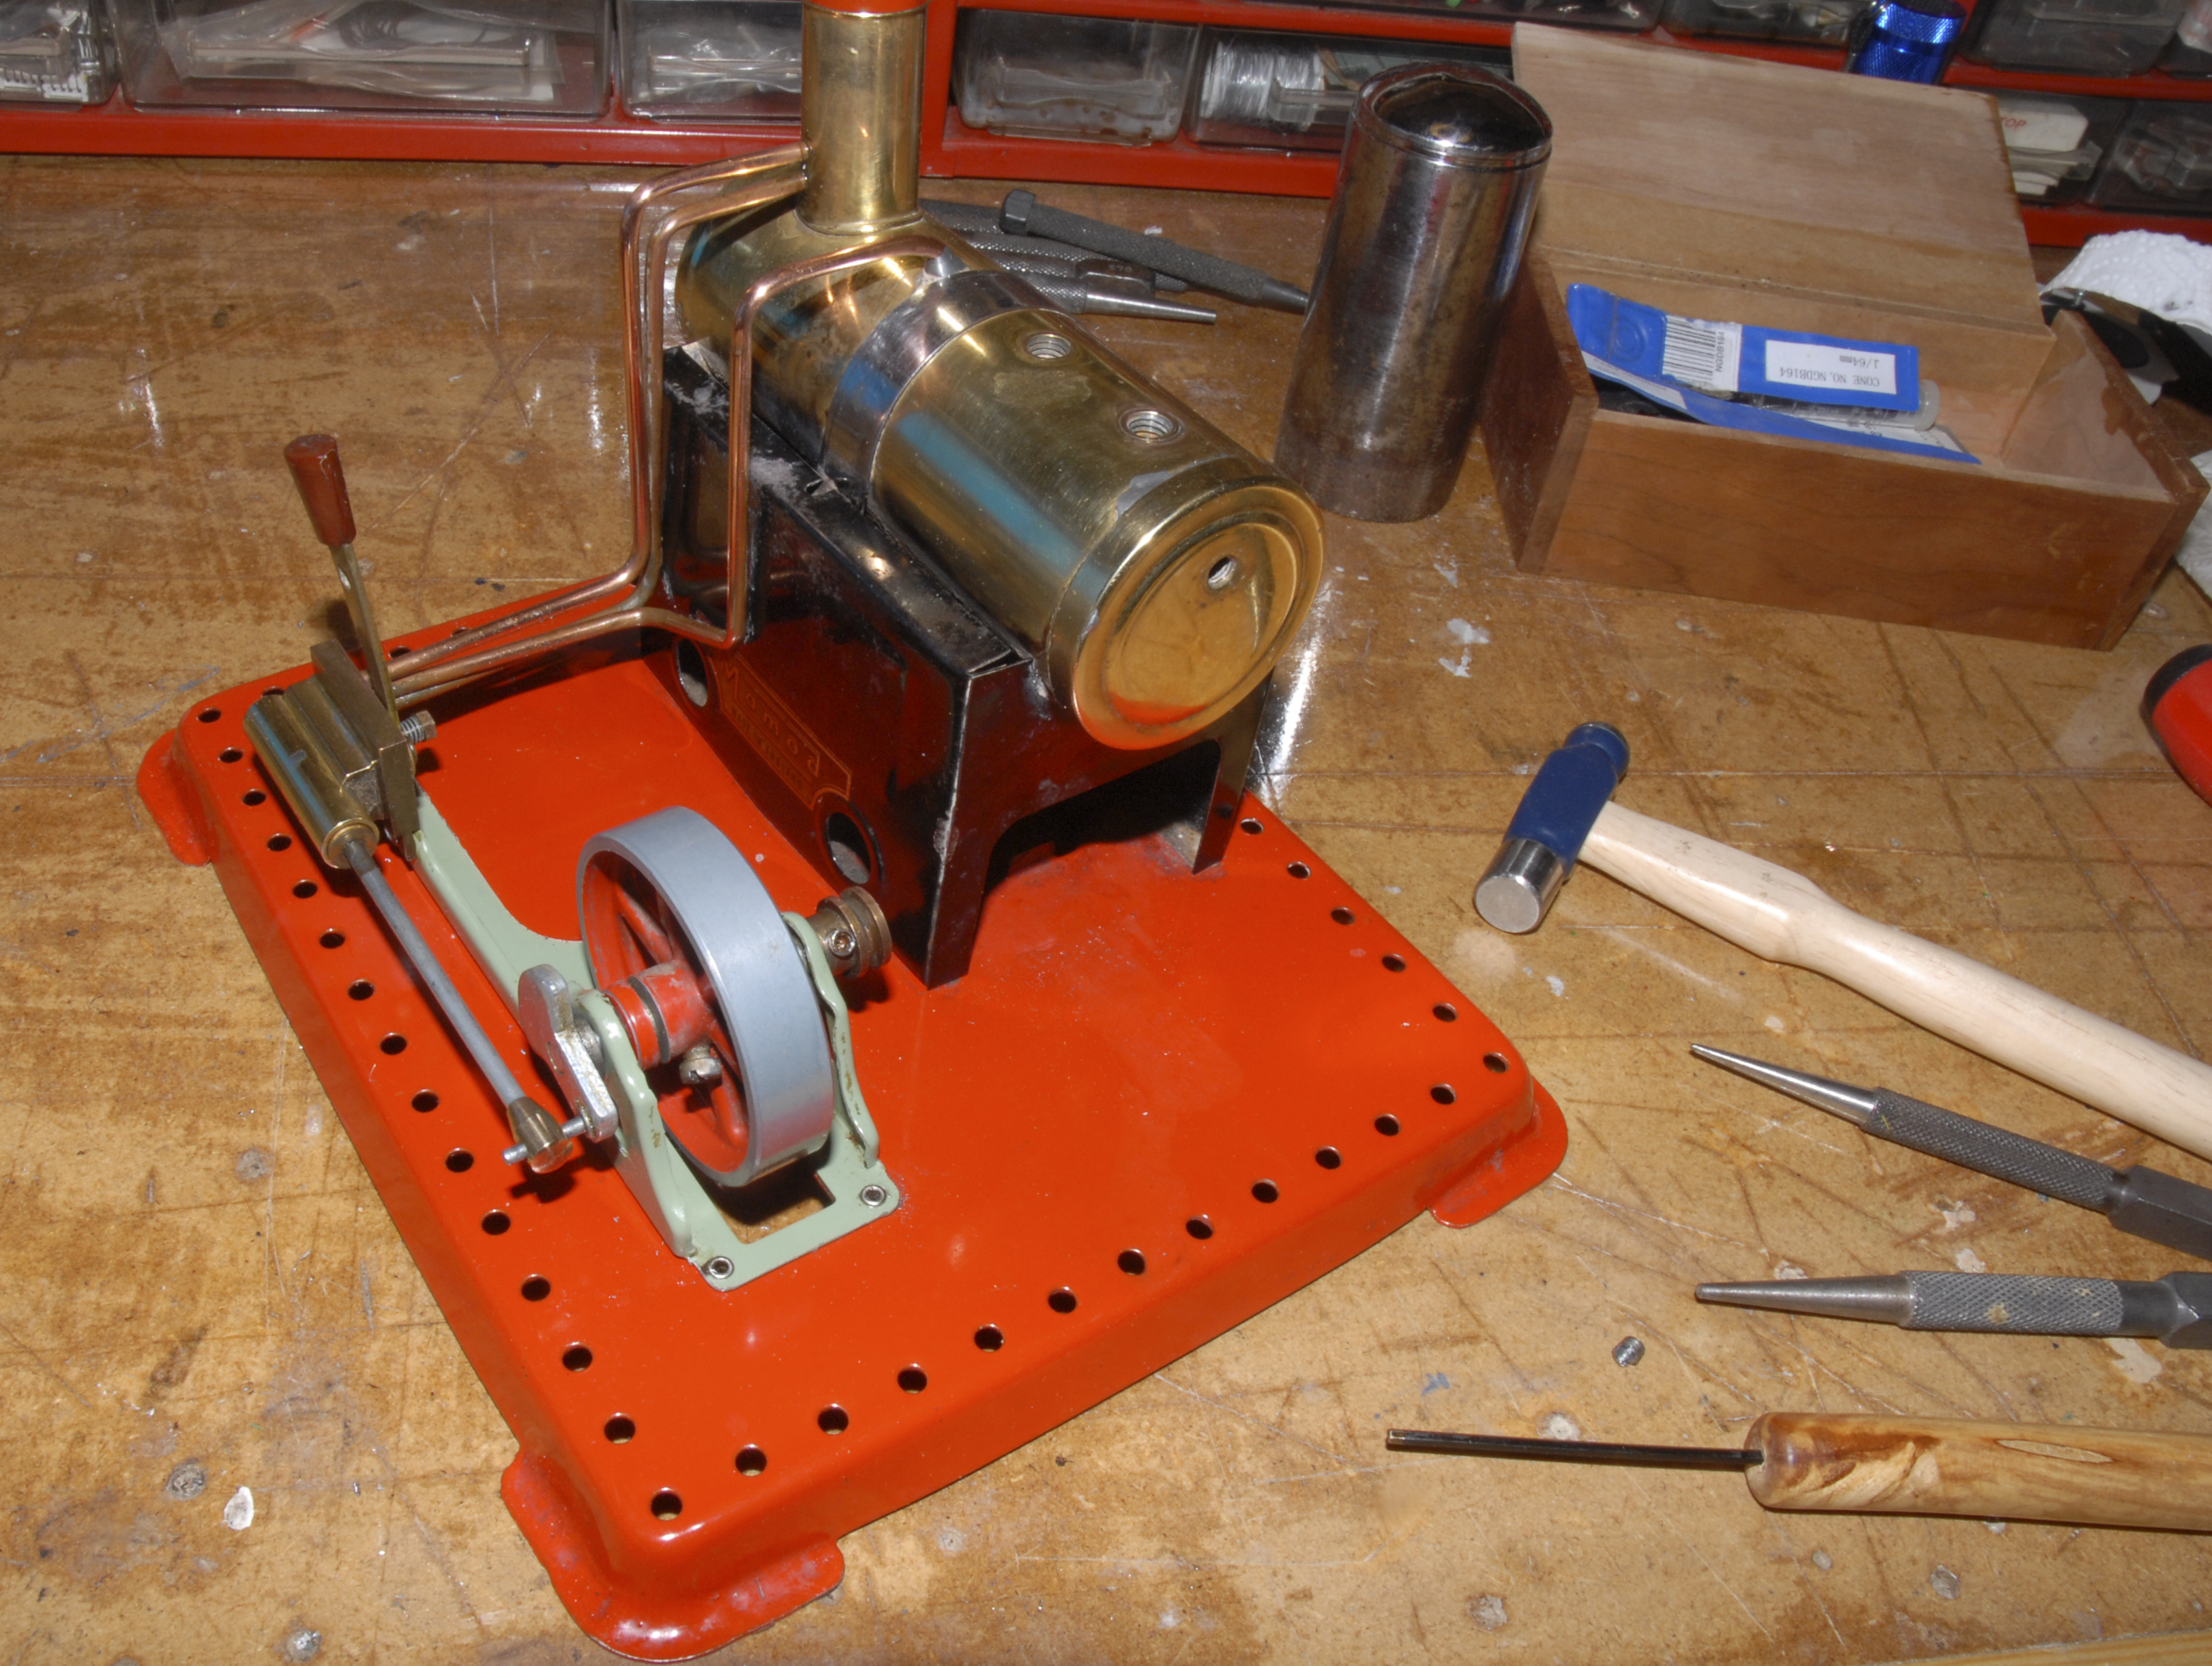
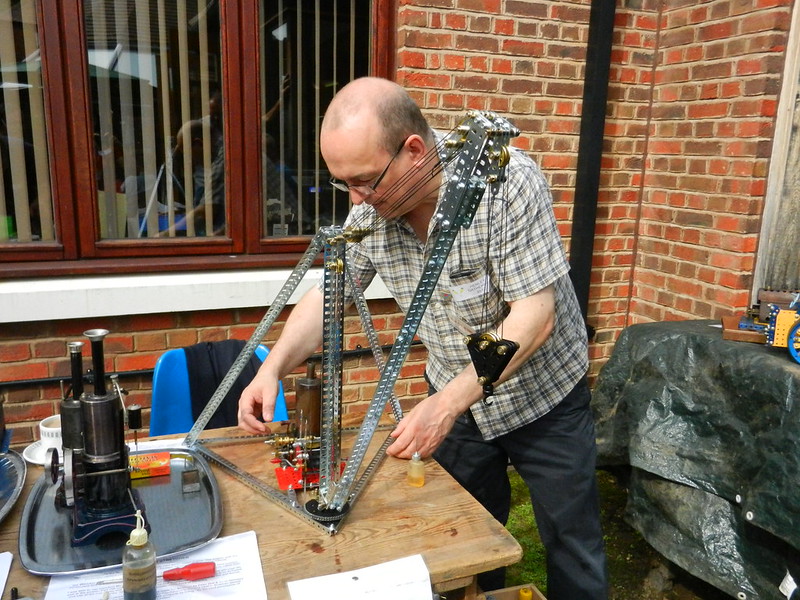
For the past week or so week I have been refurbishing a Meccano/Mamod SP3 steam engine. This is similar to the Mec1 Meccano engine made by Mamod for Meccano back in the 1960s and 70s. I will not go into the details of the refurbishment here as you can follow the entire story HERE. I thought I would post some thoughts on spraying that you might find useful.

I first got involved with airbrushing and spraying models way back in the dim distant past when I was editing and rewriting a book for the English market that had been written by a couple of American guys. Although the information was sound the content was heavily biased to model aircraft and we wanted to publish a much more general book. At the time I was the resident technical artist and it was part of my job to produce line diagrams and simple illustrations as well as get fully involved with editing and designing the books. The publishing world was a totally different place in those days. A world of Cow gum and layout sheets, galley-pulls and letterpress blocks. Nevertheless, three of us used to turn out a model magazine (Modelworld) and two or three books a month. We were slowly moving on and I can remember the first litho book being printed. The Editor, Chris Ellis, mentioned that we would be able to tell the difference between Letterpress and litho as we had to mark the photographs up in percentages not width in ems as we had before.
Little did we realise just how quickly our rustic and mysterious old industry would change. but change it did and here I am 40 years later publishing this waffle on the internet in my blog. I wonder what the old boys in brown coats would have thought of this...
Sorry, I digress (again), back to the airbrushing. Through that book I got to know the UK importers (of the day) of Badger airbrushes; Morris and Ingram Limited. They had a good range and I was able to acquire several different models to experiment with. I was not new to airbrushing having used a DeVilbiss Aerograph Super 63 artist airbrush for illustrations. I also experimented with it for finishing my models. The small paint reservoir sculpted into the top of the body was a limiting factor but I managed. In those days I was using cans of air bought from the local art suppler - the cost was eye-wateringly painful in those days so use was somewhat curtailed.

Devilbiss Super 63
The association with Morris and Ingram, was to cure this problem when I managed to secure an ex demonstration, diaphragm compressor. A bit crude by today's standards bit it did the job and I have not bought another can of compressed air since! It was described to be as being a bit noisy - but not that bad - an angry sewing machine were the words used describe the din. I was still living with may parents in those days and my father was not in agreement with the description I had passed on... So, use was once again limited.

The diaphragm compressor still in use today - sometimes!
All this was a long time ago and since then I have been airbrushing and spraying things ever since. Everything from cars and vans right down to tiny HOe/OO9 gauge narrow gauge models. I have also managed to collect together a good collection of airbrushes, spray guns and a plethora of sundry items to aid the spraying or keep the over-splay under control. All this equipment does make life easier but it is not totally necessary especially when dealing with relatively small items that just need to be painted one colour. You could just hang everything on the washing line, shake up an aerosol and spray away. This can actually be surprisingly effective for undercoating if not very responsible. Try top-coating like this and you will either be very disappoint with the results due to all the dust that has landed on it or spend hours rubbing down with 2000grit wet and dry. That is so fine the printed side is probably more abrasive than the abrasive! and that is after you have peeled off all the insects that came to a sticky end.

A small air-cleaner can be wall hung or free standing
As clean and as dust-free as possible environment is what you need for sprying. it also needs to be well ventilated, preferably with negative pressure. You can create a small amount od negative pressure by placing a fan in front of an open window, blowing outwards.  This negative pressure, regardless of how small, will help prevent the ingress of airborne dust. The rest of the room/space needs to be sealed or you will just suck in air and dust from the outside through any gaps. An air cleaner is another good idea, often used by wood-turnes to clear the air of fine dust particles. They will remove very finde particles so small that can not be seen. They are not intended to remove fumes and in our case they should be turned off while spraying. The way to use then is to leave them running for an hour or so before spraying to remove as much dust from the air as possible.


Once the air is clean you will need something to catch the over-spray. The preferred method is to use a spray booth and if you intend to do a lot of spraying this is a must. For the occasional user this is not practical and some other means needs to be adopted. A cut down cardboard box will make an ideal spray booth for light spraying. It will catch most of the over-spray and it will be soaked up by the cardboard. The box can be renewed as required. the surrounding area needs to be covered with newspaper to collect the drift.

The most important thing to do is to buy a good quality mask with interchangeable filters or better still some kind of pumped air feed. Don't skimp on this, if you can't afford a mask DON'T SPRAY ANYTHING! working on a budget, the mask will be the most expensive item so investigate acquiring one before anything else. Airborne solvents and paint do not make good breathing.

The Badger 155 airbrush is a very good  for spraying small items - not too expensive
You could use aerosol paint but they can be very messy in a confined space, they are totally uncontrollable and in order to get a fine coat on a small object you will be spraying most of the paint into the spray booth or worse, into the air. A conventional spry gun is far to cumbersome and even a spotting gun will be a bit on the big side, especially if you want to spray just one item like the base of my SP3 steam engine. Going the other way an airbrush is too fine to give a good coverage. What is needed is something in between.

I used the Badger 250 to spray my base.
At about £12 you can't go wrong
What is needed is something in between. Badger have made a small spray gun for years. In the early days it was sold, by Humbrol, and others, as an airbrush. It is really a miniature open venturi spray gun. No needle to control paint flow, just a simple screw arrangement that positions the paint nozzle further into the air-stream to increase the flow. The circular spray pattern is ideal for covering the sort of area required to paint this base. These small spray guns are cheap to buy, very easy to clean and ideal for painting parts of old steam engines and small numbers of Meccano parts. Before you can start spraying you will need an air supply, cans of compressed air are available from art shops but this can get expensive if you are planning on doing a lot of spraying. In the 1970s we used all sorts of things including cylinders of CO2 (carbon dioxide) gas, the art shops even sold regulators for them! Another (better) idea was the tyre adaptor. this was a small brass ring that was threaded to accept an air can regulator/adaptor on the outside and a standard tyre valve on the other. The only trouble with this was that the tyre had to be fitted to a wheel to hold any air under pressure and that combination was heavy and unless you were prepared to buy a new wheel and tyre, it was usually out of the boot of the car and covered in dirt and brake dust.

Machine Mart supply a good range of compressors
Today there are plenty of small compressors to choose from. If you are budget conscious and only want to use the air to power a mini-spray gun or airbrush then one of the small Chinese made diaphragm compressors will do a very good job. However, an air supply in the workshop has many uses and I would not be without mine. Small oil-less compressors can be bought very cheaply today and they nearly all of them are supplied with airline pressure regulators and gauges. Machine Mart sell a good range of compressors in all sizes. I have a small portable one that didn't cost the earth and would make a good addition to any small workshop. It has a built in air tank and the compressor pump will charge this to a given pressure and then cut out. When the pressure in the tank drops below a given point, it will recharge the tank. The airline pressure can be regulated to the required spraying pressure. This is usually somewhere around 35psi (approximately 2.5 BAR) for this sort of work. It is a bit noisy (not too bad) but just remember to turn it off at night if you are leaving it in a garden workshop. If there is a small leek in the airline it will gradually discharge the reservoir and kick-in in the early hours disturbing all the sleeping wildlife including the neighbours, who if they weren't before, could turn wild!

If you are serious about providing an air supply to a small workshop in a residential area it is well worth considering one of the silent compressors. My small, almost silent compressor. It is a Bandi re-badged (stickered!) Axminster Power Tools with a standard PCL/universal fitting and a separate airbrush/mini spray gun supply added after-market. I have larger, noisier compressors available but this is the one that gets most of the use. It will supply enough air to drive small air nailers, pinners and staplers as well as providing regulated air to run and test steam engines. They do not put out high volumes of air but for the small workshop in a domestic environment, the extra cost is well worth considering.


The result of spraying my base in this manner can be seen above. After all that playing about with steam engines it is about time to get back to the trains...

Ralph. 

Wednesday 3 October 2012

Corrugated iron anyone?

Do you remember when toothpaste tube were made of a soft lead-like material? In those days I was modelling 1/32nd scale model soldiers inspired by a couple of books Scale Model Soldiers by Roy Dilley and Model Soldiers by Peter Blum. There was an illustration in Peter's book showing thin strips of toothpaste tube being used for strapping and belts. The technique has stayed with me ever since. Today, toothpaste tubes are plastic and I have not found a use for them - yet! So these days I have moved on to tomato purée tubes which still seem to be made from some kind of metal. They are still useful for straps and tie-downs as well as adding thin flexible details to models. The stuff can be pressed into place an will stay where it is put.


A few months ago, I was wandering around Hobbycraft and I can across a kiddie's card corrugating set (Packaged as a ripple set). It came with a few sheets of card. the whole lot was only £2.99. So I bought one, took it home and had a play with some thin paper and kitchen foil. The results were not bad but very fragile and had a tendency to flatten out. Today while having a bit of a tidy up in the workshop (it does happen now and again) I came across an empty tomato paste tube, I rescued a couple of days ago, awaiting trimming and cleaning. While cleaning it it suddenly occurred to me that this might be the perfect material. First I had to prepare the tube.

The tube cuts easily with scissors, the top and bottom are removed and discarded

Now the messy bit! The tube can be split...

...and opened out

After being washed and cleaned the creasing can be removed by rubbing with something hard and smooth such as a spoon or, as here, a spanner with a highly polished finish

The sheet was trimmed and wound through the toy crimper
  
The finished sheets are trimmed to size
Corrugated iron is/was available with 3 - 5 inch corrugations (flutes) and the sizes given below are just examples of the type of material that can be represented using this cheap machine in various scales. I have referred to this stuff as 'iron' but an asbestos product was used extensively, until a few decades ago, for buildings and roofs. Today there are modern modern products made from plastics and other fibres used in the building trade, mainly for temporary or non domestic buildings, that can be seen in use and would make a good addition to any modern scene. A good example is a corrugated sheet sold by the building and DIY supplier, Wickes. HERE is a link to their leaflet details of use which can be used in model form to replicate correct installation.

The machine will corrugate the material to give a flute spacing of approximately 1/8 inch. This equates to exactly 6 inches in American O scale (1/48) and is fairly close in European O gauge. In SM32/45, the popular narrow gauge scales (16mm/ft) it will approximate a 3 inch flute. It will work well for military modellers where in 1/35 and 1/32 scale it will make a good 4 inch flute.

I am sure I will find a use for this stuff. In its unpainted form it is looking good in the photographs just imagine what it will look like with a good paint finish.

Ralph.

Monday 1 October 2012

Broken grub screw repair


A couple of weeks ago we had another one of those rainy summer days, here at Laughton Towers so all those outdoor jobs were on hold. I couldn’t paint the windows or build steps, couldn’t even mow the lawn (although Sue usually does that when the ground staff are busy) so with heavy heart I had to spend the afternoon messing about in the workshop.

Ready for action!
 I decided to have a quick steam up just to get the right atmosphere and filled the boiler of my new (ish) to me Mamod stationary engine - great fun! When it came to the cleaning up I realised the grub screw was broken and I could not get any purchase on it - Grrr! I suspect it had been there for a while and was well and truly stuck especially as one of the cheeks of the slot had given way. This is often the case when the grub screw it over tightened in an attempt to secure, in this instance, the output pulley to the shaft. I have often seen this with Meccano models. The following is equally valid for any grub screw that has been damaged in this way. 

Grrr!
A small blow torch was used to heat the grub screw and the boss and allowed to cool in air. This will do two things: the heating may help to loosen the screw as the boss will expand at a different rate to the grub screw, breaking any mechanical bond. The heating an slow cooling will also soften the grub screw slightly making it much easier to drill.

A nice clean hole in the damaged grub screw
A centre punch was used to ‘pop’ the top of the grub screw. I then bored a hole about a 1/16 inch deep as close to the centre of the grub screw as possible. small scrw extractors can be used here but they are very hard and can easily snap off at the tip if any sideways force is applied. I decided to go for a less conventional solution and use the taper of a nial punch set into the hole. 
 
A good tight fit and...
...and out is comes
After sorting through my selection of nail punches (wonderfully useful tools) I found one that was a tight fit in the hole. A single firm tap (not too hard!) with a hammer is all that is required to set the tip of the nail punch tightly into the hole I had made in the grub screw. I could now undo the damaged grub screw by rotating the punch. I replaced the old grub screw with a steal hex socket grub-screw (5/32WW - modern Meccano).

All done!
 Problem solved and ready for another steam up,another day. It never did stop raining so I was stuck in the workshop all day - and I still have not got the painting done but nobody will know...

Ralph.

Sunday 30 September 2012

A fantastic building


We took a day out yesterday to attend StampEx which is held twice a year at the Design Centre, Islington. Our main reason for going is to attend the GBPS (Great Britain Philatelic Society) meeting which is held in one of the rooms upstairs on the balcony.  This is a fitting venue for a philatelic event as the building was used as a Royal Mail parcels office during the second world war after Mount Pleasant  was severely damaged during a bombing raid. On 18 June 1943 a single incendiary bomb destroyed the Parcel Section at Mount Pleasant More information can be found regarding the building's history HERE.

This year the format of the meeting was changed and we found that we could only attend the morning session if we were to have any time to peruse the many exhibition frames and dealers stands. Everybody who is anybody attends this event including Royal Mail themselves selling recent and current issues at face value. Sue managed to complete the paralympics gold winners set of mini sheets. having only managing to buy 12 out of the 34 issued over the counter at our local main post office.
As you can see from the photograph the venue is a fantastic building dating back to 1861, it was completely refurbished, extended and modernised in the 1980s making it one of the most practical uses of space in a very good location. Lots of good modelling reference in that clear-span roof which, in its day was greater that that of the Crystal Palace and Alexandra Palace.

A good day out and a very nice BLT at a reasonable price -  Now, come on, you knew I was going to mention food at some point, didn't you?

Ralph

Saturday 29 September 2012

Now look what happens when you do someone a favour...


Back at the beginning of the month we had a day out at The Henley Gathering, an annual meeting of Meccano enthusiasts. For the past few years now, we have been showing off our ancient steam engines. This year we decided to go one step further and build one of our 1929 steam engines into a model. The model we decided to build was a Derrick Crane featured in the original steam engine manual. After spending the day steaming we arrived home just as our neighbour was pulling in to the kerb bearing something that looked interesting… " I have a Steam engine for you!"

More steam!

A shadow of its former self - Meccano steam engine Mec1
01_te_before It all started a few months ago when the aforementioned neighbour asked if I could give her and her husband a hand to clear out her late father's workshop. (Self improvement tip: If you want to make lots of friends buy yourself a big van!) The workshop was full of woodworking and turning tools so the offer of a first pick was tempting. As we worked our way around the workshop sorting out the wheat from the chaff - and we all have lots of chaff! I spotted a Mamod Traction Engine sitting in a box. It turned out it belonged to my neighbours brother and as such was not part of the task in hand.

Nothing more was said until, a couple of days before we went to Henley, when in passing mentioned that I could be interested in That Mamod steam traction engine. So all of a sudden I was the owner of a steam engine that did not have ‘Meccano’ written on it.

That was it, I needed to know a bit more about these engines so before long I was actively seeking scruffy looking examples to take to bits and bring back to life. For the past few weeks in between all the domestic jobs I have found myself fiddling about with all sorts of steam engines. I have a small stock of both stationary and mobile engines that I will be refurbishing between other projects over the next few months so Life in the workshop is going to be interesting to say the least. 

Live steam in the workshop - Look mum, no hands!
I think you might see a little more on this...
At one end of the workshop I am trying to get to grips with the latest electronic microprocessors while at the other end I am burning my fingers on steam powered models. It should be interesting so keep looking back in or sign up for e-mail notifications at the top of the page. I am back in the workshop and back blogging! 

Ralph.

Saturday 22 September 2012

One thing leads to another…

No playing in the workshop for a while as life, a nasty dose of a Flu-like bug, the Olympics and the odd wedding has taken up any spare time I have had. The only workshop time of late has been to do what our American friends call ”Honey dos” that is; things that need doing around the house that I have been avoiding!

A few scraps, a strip of leather and a piece of MDF...
Have you ever tried removing a cupboard from under a kitchen worktop – without removing the worktop? This is usually a fairly straightforward job. Modern Kitchen cabinets are usually fitted with adjustable legs, so it is just a case of undoing any carcass-to-carcass joiners, letting down the legs and pulling it out. This is fine if it is a normal 565mm deep cabinet but when the cabinet is a corner cabinet the corner leg is too far away to release with any ease. A touch of the old brute force released the cabinet but the corner leg was detached from the carcass in the process. This is not a problem in itself as it is an easy job to reattach – But – How do I get it back without damaging it again?
...and you have the "lift 'n' shove!
A rummage in the timber scrap box produced a selection of bits that, after a bit of shaping, drilling and nailing, produced the Mk I corner cabinet lift ‘n’ shove. The whole idea is to take the weight off that back leg while the cabinet is pushed into its final position. A good rub of candle wax is applied to the sledge to reduce friction against the floor. Conversely, the lifting pad is surface is covered with non slip matting. This is intended for use under loose floor mats and rugs to prevent them from sliding on a polished floor. It can be purchased from carpet shops and is also available in some hardware stores. It is similar to the material (which attracts a much higher price) sold as ‘router mat’ for use with power routers to prevent the work-piece from sliding about while being machined. This did the job fine but a small modification to keep the pad in place while being positioned will be an advantage.

Hot stuff… 

Panel filler used to repair laminate worktop
While in the kitchen fiddling about I thought I would repair the laminate worktop where something very hot had made a small blister, about the size of a five pence piece. A tap with a hammer shattered the burnt laminate and a fine-set block plane trimmed the raised edge. The remainder of the derbies was removed and a small amount of automotive epoxy panel filler (Isopon, plastic padding or the like) was used to fill the void. This was allowed to cure thoroughly before the over fill was levelled using wet and dry abrasive. The filler is a reasonably close match, in colour, to this worktop so it will not take much to touch this up with a bit of airbrushing and a splatter paint effect applied using an old toothbrush and knife.

Stop rot 

Many years ago, we had all the windows replaced and double glassed. While the work was being done the back door and frame was replaced. That was 25 years ago or more. The hardwood threshold has held out very well considering it has been in contact with the shallow step. Hmmm… Looks like another ‘do’ for ‘Honey’.

The first job was to rectify the source of the problem and remove the pointless step. The slabs were lifted, the bricks and infill were smashed out (I like this bit) with my trusty ‘lump’ hammer (might as well keep to the American vernacular – AKA a club hammer) and bolster. Next, time to remove the remains of the threshold. This is not as easy as it may seem. The doorframe and threshold were made as one piece and fitted in to the opening. I know these sort of jobs can escalate but I am not about to take the b****y doorframe out! The problem is the threshold is nailed into the bottom of the frame from underneath.
Having done this job several times before I have a plan…

This involves a fantastic piece of kit, which you may not of heard of, made by the inventers of the cordless drill – Fien. The Fien Oscillating Power Tool is a get-out-of-jail tool that has earned its money, time and time again over the years. Fitted with a E-cut or circular blade it will slip in between the frame and the threshold and cut straight through the nails – magic! Time to resort to the woodworking machines. I had a lump of maranti earmarked for this job but on closer inspection, it turned out to be too small in section. As luck would have it, Sue happens to own a big pile of hard wood (earmarked for turning activities) Acquired a few years ago when it was on offer cheap so long as it could be collected – See I told you owning a van makes you popular. About half way down the stack was a good-looking lump of American white oak – perfect! Not only that but managed to release it from the stack out without a fight. A couple of passes through the table saw and thicknesser and we have the basis of a threshold. It was cut to length, shaped, scraped and treated with finishing oil.

Nice new stop - American white oak off-cut
A couple of slabs that were too close to the timber were repositioned and a threshold support was cast in-situ. The new lump of oak was bedded onto a length of DPC and secured to the frame with a couple of screws driven through pocket holes cut into the uprights. All that need doing now is to make good the render and get the paint out. I'll give the door a fresh coat of paint and... Is that the doorbell? Now you would think that after all that, plus a couple of smaller jobs, a bloke would be able to get back to some serious workshop time... No chance.

Ding-dong!

“Do you think Ralph could look at my window?” Sue had answered the door (never a good plan!) to our neighbour who had decided that repairing 115 year old sash windows was just a case of filling in the “soft bits”. There was no way I was going to get too involved in this madness so I made a few suggestions and left… So why am I carrying a top light (window sash)? Usual story, it was easier to do the job than explain it. So back to the workshop and the woodworking machines. This time the table saw and band saw got a bashing and a new meeting rail was fabricated, the rest of the sash was sound enough to reuse so the new meeting rail was trimmed and new tenons cut. After patching and filling the mortises in the original rails of the sash, new mortises were cut and the repaired sash was glued up. After trimming the tenons and wedges the next morning the sash was returned to neighbour ready for glazing. Can I go back to the workshop now dear?

Ralph.

Monday 16 July 2012

Back home at last!


There has not been much activity in the workshop for the past couple of weeks as all our attention has been focused around Meccano. We eventually got enough stuff together to display some Looms at Skegness although the thread we had ordered failed to appear in time and we made do with some black and white stuff we sourced locally. The show was a great success and we had a great time sampling the local eateries and of course the New Park Club’ selection of beers!

SkegEx 12 The view from the balcony
At the event we managed to acquire another Meccano loom that was in need of some attention. Unlike the small hand loom that started all this off back in February, this one is at the other end of the size scale. In fact it is too big to pass through a standard doorway and would not fit in Sue’s Volvo. There was nothing for it but to collect it in the van. The only small, shall we say, inconvenience in this arrangement was geographical. We live in South East London and the loom was sitting in a conservatory (it would not go through the door into the house) in Peterlee, Co. Durham. That is a 550mile round trip if you go straight there and back and 600 miles if you do a bit of sightseeing on the way back, as we did. Well you can’t go all that way without having a trip on The Middlesbrough Transporter Bridge and enjoying a fish and chips lunch in Whitby. I will post more detailed information on our Meccano website in due course.

The loom sitting in the back of the van.
Peterlee was Friday, a day out at the North London Meccano Club followed on Saturday and now it is Monday (Spent Sunday recovering) and it is time to get back to the workshop, I am sure there is stuff waiting for me in there… Now, where did I put the keys? … SUE!

Ralph.

Tuesday 3 July 2012

Thread up with waiting… Grrr!


Loom building is continuing at a pace but with one day until we are off to Skegness I am now getting a bit hacked off with waiting for the thread I ordered last week. I will have to go and find some tomorrow otherwise we will have a loom with no thread. I know exactly what will happen, as soon as I go and buy some emergency supplies, the stuff I have ordered will arrive while I am out, we’ll see…

Sue is working on the beaming frame - and a cuppa!
For now, Sue is working on the beaming frame and I am trying to get the new frame as far forward as possible before we go. I don’t expect to get it finished but I will give it a go. Working from the super model plans and a couple of articles published in Meccano Magazine in the sixties, is hard work. Most of the construction is guesswork as the words are at best vague and when the author gets bored with describing the model he brings the passage to an abrupt end by stating that the modeller will be able to finish the section of the model by close inspection of the photographs – yeah right! 

So how does the reed fix to the slay?
Not only are the photographs not very clear but also there are not enough of them. Some parts of the model are impossible to see, so guesswork and experimentation take over slowing progress to a snail’s pace. Normally this is all part of the fun but with time running out it all starts to get a bit tense. So it is time for a break and to give this keyboard a bit of a work out. Not too much, I don’t want to end up with this on the bench in the workshop.

OK, I feel better now, back to the building…

Ralph.

Monday 2 July 2012

Our top ten stamps

...and now for something completely different!


If you look at the header on this page there is a reference to "Philately" and so far I have not made a post on this subject. Time to make that right. Both Sue and I are, and have been for most of our lives, stamp collectors. Over the years we have pruned down our collecting to a few countries including France, Italy and Great Britain. By far the most comprehensive is our specialised GB collection that spans all stamp issues from 1840 and pre-stamp material from before that date. Other than the three countries I mentioned above we have lots of obscure items that have just caught our eye over the years. Our top ten selection has been made from stamps we own rather than stamps we would like to own - now there's an idea...

To see our top ten just CLICK HERE

Have you got a top ten stamps? we would love to see them!

You can contact us HERE

Ralph.

Sunday 1 July 2012

SkegEx 2012 is Looming...

Our new Loom in progress
The only workshop activity that will be hapening this week will be confined to anything to do with getting ready for the premier Meccano event of the year. Skegness is home to SkegEx every year at the beginning of July. Meccano nuts From all over the world meet to show off their latest creations and spend a few days discussing all things Meccano related. But for me the best part is the socialising in the evenings. Great food and good cheap beer, thanks to the hospitality of the 'New Park Club'.

First attempt at a reed hook
This year we will be taking our old refurbished loom, our new loom in a work-in-progress state as well as the Beaming frame. We will also be taking the crown from the Chelsea Flower Show exhibit, that I mentioned in an earlier post, which has a Meccano frame. Our pre-war clock will also make a last appearance. We are hoping our new thread will arrive in time to reload the loom and beaming frame. if it does not get here by Tuesday we might be in trouble! in the meantime I have been out in the Workshop having a go at making a reed hook. you can see my first effort here. After we get Skegness out of the way I will have a go at making a better one but this rather rough first attempt will do the job for now. 


Ralph.

Friday 29 June 2012

Now let me tell you a story...


If it ain’t broke…

Some days are good days, some days are bad days and others just need to start again. There I am slogging away in the office (building our model for Skegness :-) ) and the postie arrives. Great! That must be the thread I ordered, a few days ago, to reload the old Meccano loom. A hurried descent of the stairs and careful negotiation of the ‘obstacles’ carefully laid out in the hall, delivered me to the front door and, after removing “the wood from the hole” I found myself face to face with a very happy Royal Mail operative holding the wrong size parcel. As the smile on the postie’s face morphed into a grimace of confusion he said “Most people usually look a bit happier then that when I have a parcel for them!” I think my face must have dropped as I opened the door. The problem was the box he was holding was far too small to hold the thread I was expecting. I explained my reaction and thanked him warmly for his trouble. By this time I had worked out what was in my parcel. 


Go to sleep - please!
A few days ago I won a cheap, controlled heat hot air gun on ebay. This Chinese made unit is incredible value for money. There is not much to the unit but what is there works fine. The problem is I didn’t realise how it is meant to work. I know I am a bloke and it is the law that we don’t read the instructions until we have worked out how it works but in this case I had a good excuse. The instructions look really informative, if you read Cantonese…

So, what is it?
It is a controlled heat, hot air gun that has adjustable temperature and flow rate. The really neat bit is it monitors the temperature output constantly adjusting it to compensate for flow rate. It also shuts of when the gun is returned to the cradle. It can be used with or without a reducing nozzle (three supplied) to direct the air flow. I think it will be used most of the time with the small one fitted, as shown in the picture above.

What’s it for?
In a nutshell, it’s for de-soldering components from PCBs and general heat source ideal for heating heat-shrink tubing. It can supply hot air at a rate up to 12L/min and at temperatures between 100ºC and 450ºC. All this for just a smidgen over thirty quid!

“If it ain’t broke, don’t fix it”

This is fine if you know it “ain’t broke” but what happens when you think it is?

Turn it on and is reads 100ºC, pick up the gun and the fan starts, put it down in its cradle, the fan stops and the display reads ‘SLP’ (Sleep).  Good so far. Now, increase the temperature and try it again, guess what? It didn’t shut down… Grrrr!

...it is now!
Out with the screwdriver and (after disconnecting it from the mains) the gun was dismantled. Inside there is a 230V heating element, a neat 24V fan a circuit board and reed switch. I decided that the reed switch must be at fault. In an effort to remove it from the dollop glue and the heat-shrink that held it in place it broke… Grrrr!

At least I now have a real fault to repair. It is at this point, if this was a video blog, you would see me repairing the reed switch in a sequence of speeded up film to a Led Zep soundtrack. Nevermind, it ain’t so you wont! Suffice to say it is OK now. 

It wasn’t the read switch at fault and everything else in the gun looked and tested OK. I placed the gun back in its cradle and turned it on. The display read “SLP” and the gun was silent  I picked it up and it started. Eureka! My delight was short lived. When I replaced the gun it did not stop… Grrrr! Now I am really cheesed off. dialed the temperature back down to 100ºC, watched while the readout fell to 100ºC and placed the gun back in the holder – it stopped! At this point, I decide that the thing is winding me up and was put on this earth to confuse me. Time for a stroll through the grounds of Laughton Towers and forget about it.

All of a sudden it dawned on me Perhaps the fan is supposed to run even if the element has been turned off to cool the thing down. I’ll give it a go. Back to the workshop and I try it out. Sure enough, that is exactly what is going on. If only I had been able to read Cantonese I could of saved myself a couple of hours. To add insult to injury, Sue had been out all day and when she got in this evening I started to tell her about the thing not turning off and she said “Doesn’t the fan just carry on running until it has cooled down?” 

The morel of this story is always make sure you can read Cantonese and if you still can’t work out what’s going on, ask the wife!

Ralph.

Sunday 24 June 2012

A day out at the sewage works...


As I said yesterday, I was going to take Sue for a day out at our local sewage works… What’s wrong with that? 

The ornate ironwork is being restored to its former glory stage by stage

OK, we are not totally bonkers. Crossness pumping station is the southern outflow of Sir Joseph Bazalgette’s answer to ‘The big stink’ London’s escalating sewerage problem of the 1850s. The government of the time made available vast sums of money to build the extensive sewer system part of which was Crossness pumping station. Crossness boasts the four largest rotative beam engines in the world one of which is fully restored, another is in the process of being stripped down and the other two are awaiting their turn. The place is a palace to Victorian engineering at its most arrogant. The interior was decorated to a standard that would not lookout of place in a grand hotel of the day. Money was obviously no object. Lots more information can be found on the Crossness Engines Trust website

Hummm... That bloke looks familiar. The loom always attracts attention
Today was a steam day and model engineering show. We (SELMEC) were invited to display a selection of Meccano models. We did and a good time was had by all. Sue and I took our partially restored Meccano loom and a clock based on some instructions, found in a 1930’s manual, along with a dealer display windmill. As usual, the loom attracted the most attention from children (of all ages), Mums and Dads. For more details of the loom, see HERE

 
Sue is a steam engine and early architecture junkie. She was in her element there enthralled by the whole event. Not only are the engines really impressive, they are housed in Grade I listed buildings. If you get a chance to go, don’t think twice the place is fantastic and it would make a good day out for the whole family. There are modern facilities and sensibly priced refreshments are available.

For me the trade stands are my nemesis, I can’t resist a bargain. Several visits to the second-hand book sellers, during the day, increased our book collection but my star purchase as far as I was concerned was a pile of vintage Airfix 1/35 scale military kits for a few pounds each.

All in all a good day out and the end of a gruelling two weeks of holidaying in Scotland, attending a Meccano meeting and steam show. Now we have ten days before setting off to the biggest Meccano event of the year in sunny (please) Skegness!

Ralph.

Saturday 23 June 2012

Back home and up and running...


Wow! Those two weeks just whizzed by. There is a lesson here for next time. The place we wanted to stay was booked for the weekends but had free space Monday to Friday. So we decided to book it and find alternative accommodation for the following week, Friday to Friday. The problem with this idea is that three of the days were taken up travelling. We were only away for twelve days so that left nine, Three of them were spent avoiding the torrential rain, and another couple resting after long drives with Mum. Now we are down to four days. We made use of the time but I must admit, it could have been planned better. Next year we will book two weeks in one place! Tonight, My brother repatriated Mum to Kent this evening, after consuming large quantities of our meagre food supply, so now the holiday is really over.


The upshot of all the mucking about and inclement weather was there was little time to get out and about photographing possible modelling subjects with the exception of one brief stop at Dunkield Railway station, on the way back from a visit to the Pitlochry salmon ladder – Google it! The station was originally the terminus of the Perth and Dunkield Railway in 1856 and later became a trough station when it was absorbed by of the Inverness and Perth Junction Railway in 1863. I think it would make a nice subject for a modern-image layout as it still has a couple of sidings, a signal box, semaphore signal and a passing loop. The permanent way crews use the sidings for storage of materials and equipment. The line sees all sorts of traffic including freight and passenger, local and national. Check out Google images for Dunkield Railway station and you will see what I mean. I liked the combination of wooden and concrete sleepered track forming the running line and passing loop respectively. 


The rest of the pictures taken were either for use a reference later or just plain holiday snaps and not really worthy of being posted here.

Today, have been at a Meccano meeting (SELMEC). I have made a bit of a rod for my own back by offering to PAT test the club members gear. I spent another meeting unscrewing plug tops!  I am only going to do it once a year in future other wise I can see me spending all my time working. Don’t get me wrong, I am not complaining, I just underestimated how many members would need gear tested.

Tomorrow I am taking Sue for a day out at the local sewerage works –  See, we know how to live it up!

Ralph.